Name Box in Excel
You can use the name box in Excel to select a cell, range or named range. You can also use the name box to quickly create a named range (important).
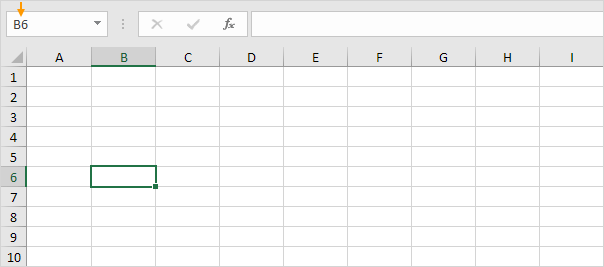
1. We start simple. The name box below displays the address of the active cell (B6).
2. You can use the name box to select a cell, range or named range. For example, click in the name box and type E2:F8.
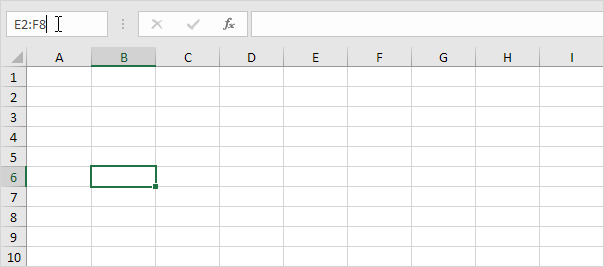
3. Press Enter.
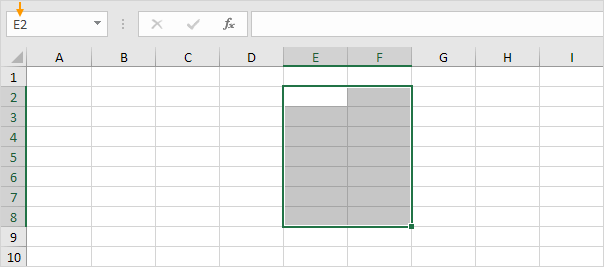
Note: the name box only displays the upper-left cell of a selected range.
4. Use the name box to quickly create a named range. For example, select the range A2:A9 below, click in the name box and type Scores.
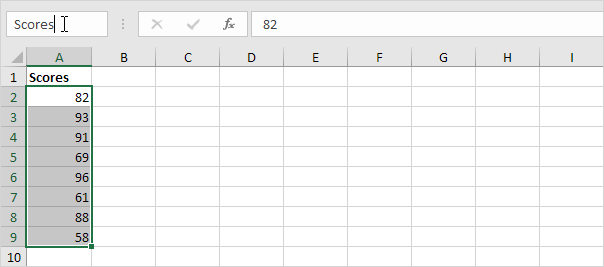
5. Press Enter.
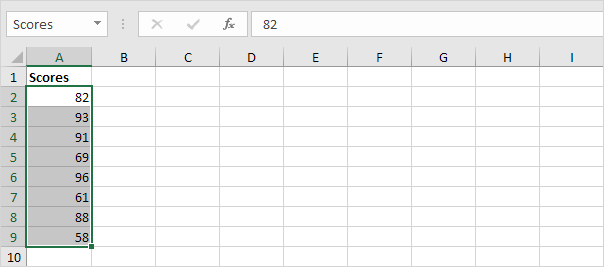
6. Now let's use this named range in a formula.
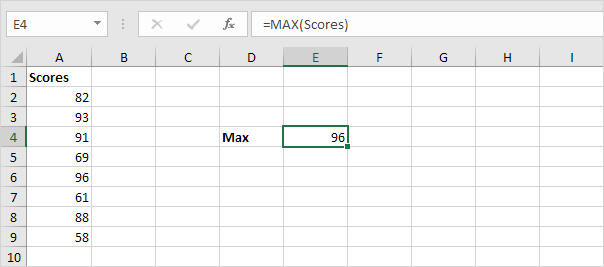
Note: use the Name Manager to edit and delete named ranges. Visit our page about named ranges for more information and formula examples.
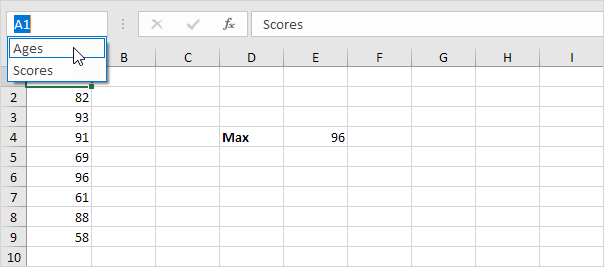
7. Finally, click the drop-down arrow in the name box to see a list of all the named ranges in a workbook. For example, click Ages.
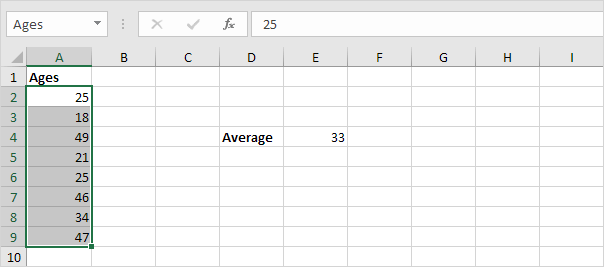
8. Excel selects the named range Ages on Sheet2.
Note: if you're interested, you can download this Excel file.