Make a Read-only Excel Workbook
This example shows you how to make your Excel workbook read-only. Users without a password can still save changes by creating a new copy of the workbook.
1. Open a workbook.
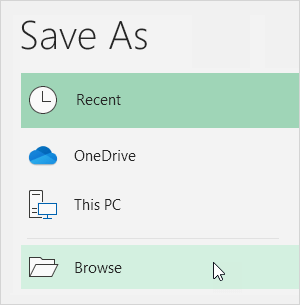
2. On the File tab, click Save As.
3. Click Browse.
4. Click on the Tools button and click General Options.
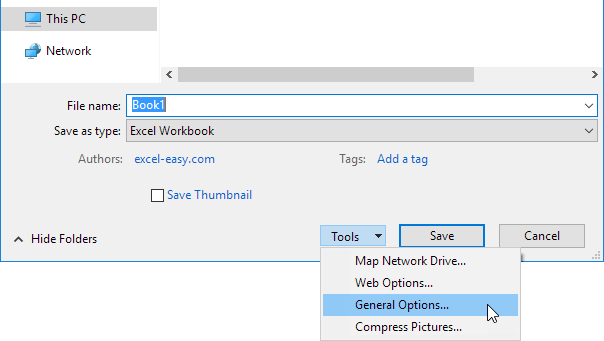
5. In the Password to modify box, enter a password and click OK.

Note: if you only want to recommend users to open the Excel file as read-only, without protecting it, don't enter a password and check Read-only recommended.
6. Re-enter the password and click OK.
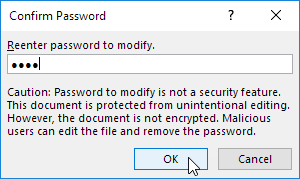
Note: this feature does not encrypt your Excel file. Malicious users can edit the file and remove the password.
7. Enter a file name and click Save.
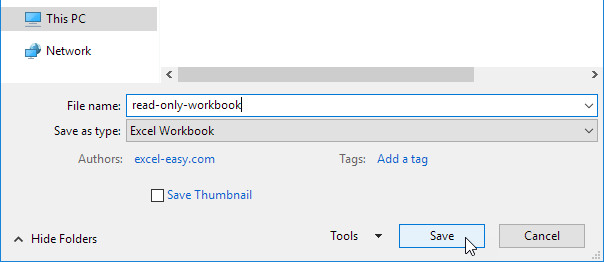
Your workbook is read-only now. The password for the downloadable Excel file is "easy".
8. Excel displays the following message box when you open a read-only Excel file. Enter the password or open read only.
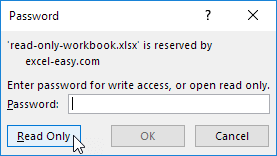
Remember, users without a password can still save changes by creating a new copy of the workbook. For better protection, protect a sheet.