Convert XML to Excel
Convert your XML file to an Excel file, or vice versa. This enables you to exchange data between different applications.
From XML to Excel is really easy. Simply execute the following steps.
1. Open a blank workbook.
2. Turn on the Developer tab.
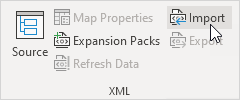
3. On the Developer tab, in the XML group, click Import.
4. Select the XML file and click Import.
5. Click OK.
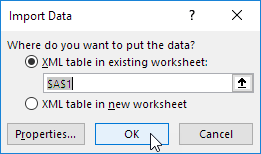
Result:
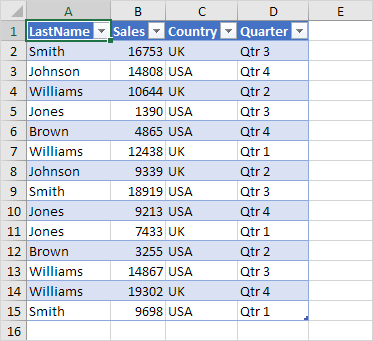
To convert an Excel file to an XML file, simply execute the following steps.
First, we will create a schema based on XML source data. The schema defines the structure of the XML file. We have to do this outside Excel.
1. For example, open Notepad and add the following lines.
<data-set xmlns:xsi="http://www.w3.org/2001/XMLSchema-instance">
<record>
<LastName>Smith</LastName>
<Sales>16753</Sales>
<Country>UK</Country>
<Quarter>Qtr 3</Quarter>
</record>
<record>
<LastName>Johnson</LastName>
<Sales>14808</Sales>
<Country>USA</Country>
<Quarter>Qtr 4</Quarter>
</record>
</data-set>
Note: the tags refer to the column names, but you can give them any name you want! For example, instead of LastName use Name.
2. Save the file as schema.xml.
3. Open data-set.xlsx.
4. On the Developer tab, in the XML group, click Source to open the XML Source task pane.
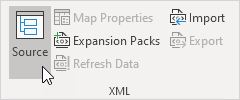
5. To add an XML map, click XML Maps.
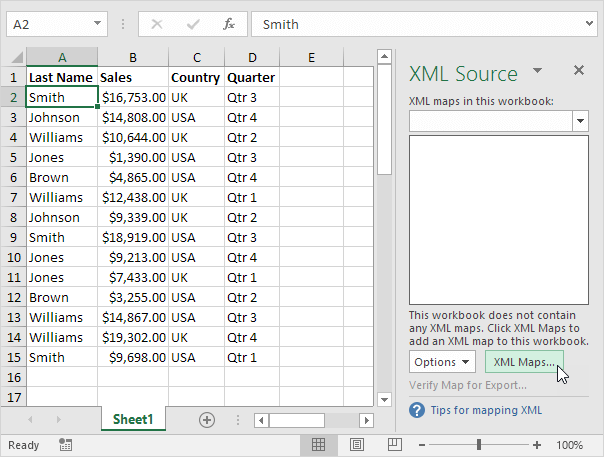
The XML Maps dialog box appears.
6. Click Add.
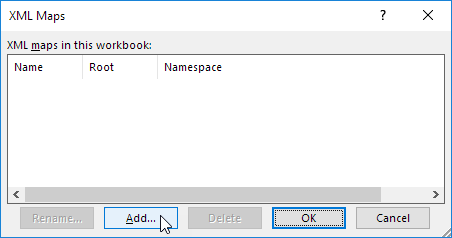
7. Select schema.xml and click OK twice.
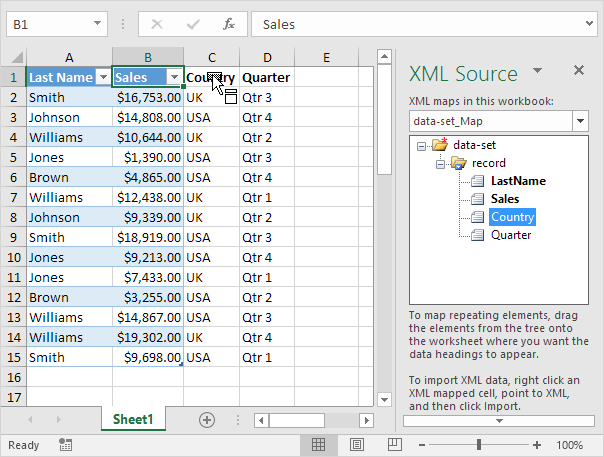
8. Now simply drag (map) the 4 elements from the tree onto the worksheet (row 1).
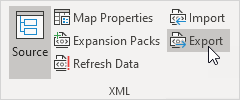
9. On the Developer tab, in the XML group, click Export.
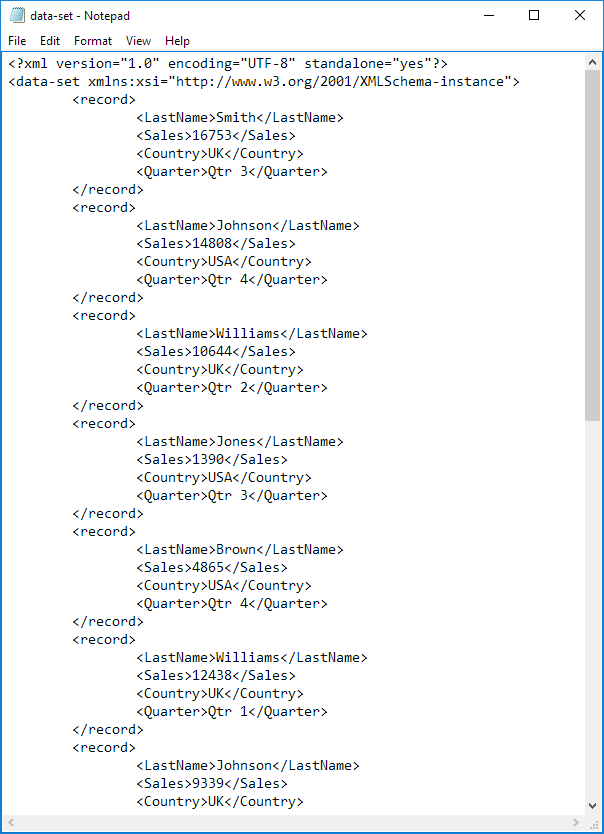
10. Save your file as data-set.xml and press Enter.
Result:
That saves quite a lot of time!