Resize Property in Excel VBA
The Resize property in Excel VBA makes a range a specific number of rows and columns smaller or larger. The Resize property always takes the top left cell of a range as the starting point.
Contract
To contract the size of a range, specify a smaller number of rows or columns than the original range.
Place a command button on your worksheet and add the following code line:
Result:

Explanation: this code line resizes Range("A1:C4") to 3 rows and 2 columns and selects this range (borders for illustration only).
Code line:
Result:

Explanation: this code line resizes Range("A1:C4") to 1 column (we omit any row specification) and selects this range.
Expand
To expand the size of a range, specify a larger number of rows or columns than the original range.
Code line:
Result:

Explanation: this code line resizes Range("A1:C4") to 5 columns. The Select method selects Range("A1:E4").
Code line:
Result:

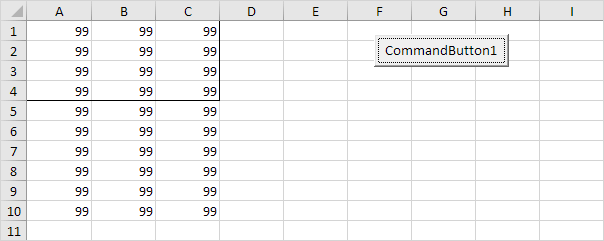
Explanation: this code line resizes Range("A1:C4") to 10 rows. Instead of using the Select method, you can work with the resized range directly. For example, set the values of the cells in the resized range to 99.