Spell Check in Excel
Learn how to check the spelling of text in Excel, add words to your custom dictionary (or AutoCorrect list) and learn how to change spell checking options.
1. Open a worksheet with some spelling errors.

Note: to spell check the entire worksheet, simply select a single cell. If you select multiple cells, Excel only checks the spelling for those cells.
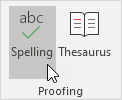
2. On the Review tab, in the Proofing group, click Spelling (or press F7).
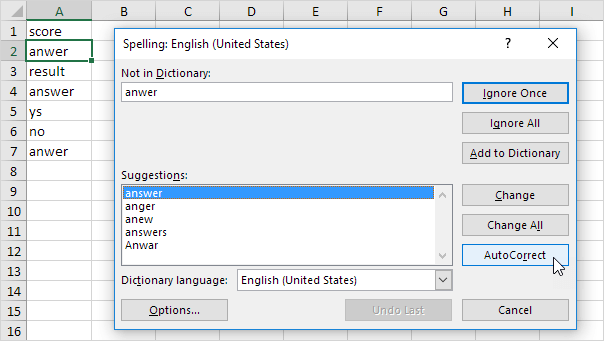
3. Select a suggestion and click Change to correct the misspelling in cell A2.

Note: use the drop-down list to change the Dictionary language.
4. Click Change All to correct all instances of this misspelling (cell A2 and cell A7).
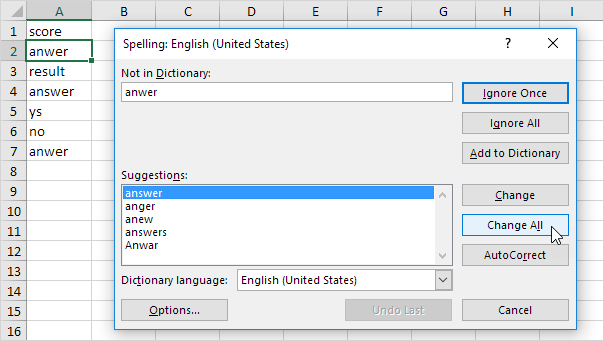
5. Click Ignore Once to ignore the misspelling in cell A2. Click Ignore All to ignore all instances of this misspelling.
6. Click Add to Dictionary to add this word to your custom dictionary.
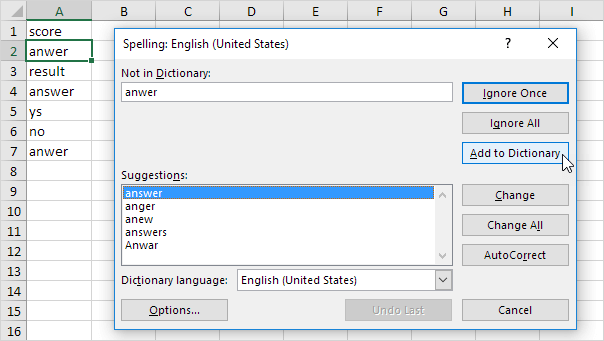
7. To edit this list, click Options (see image above) and then click Custom Dictionaries (see image below).
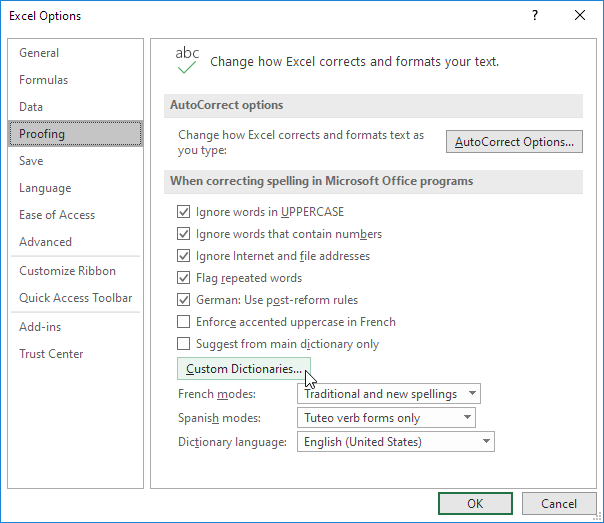
Note: to directly open the Custom Dictionaries dialog box, click File, Options, Proofing and then click Custom Dictionaries.
8. Click AutoCorrect to add this word to your AutoCorrect list (every time you type anwer, Excel will replace it with answer).
9. To edit this list, click Options and then click AutoCorrect Options.
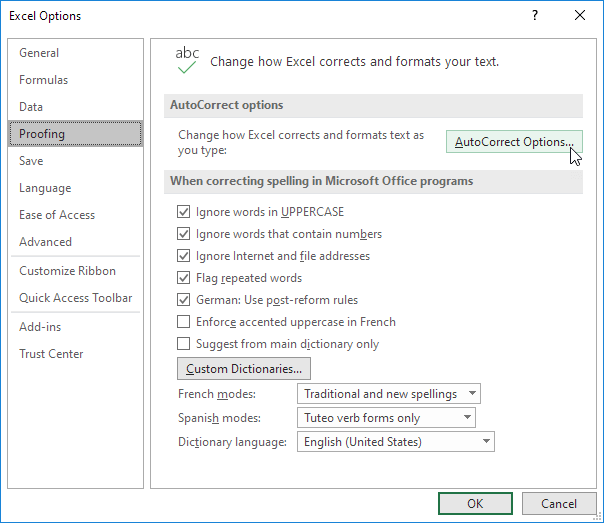
Note: you can also add abbreviations to your AutoCorrect list. For example, if you type ee.com, Excel can replace it with www.excel-easy.com.
10. To spell check words in a formula bar, select the words and press F7.

11. To spell check the entire workbook, hold down CTRL to select multiple sheets and press F7.

12. By default, Excel ignores words in UPPERCASE, ignores words that contain numbers, ignores internet and file addresses and flags repeated words.
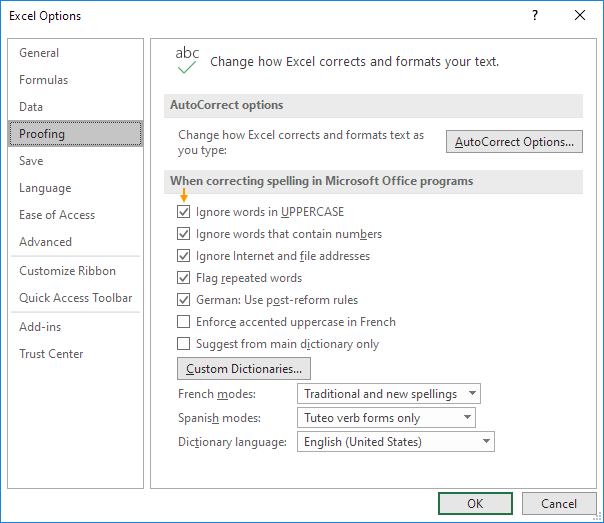
Note: to change these spell checking options, click File, Options, Proofing.